Beautiful Spring Cakes for Any Occasion
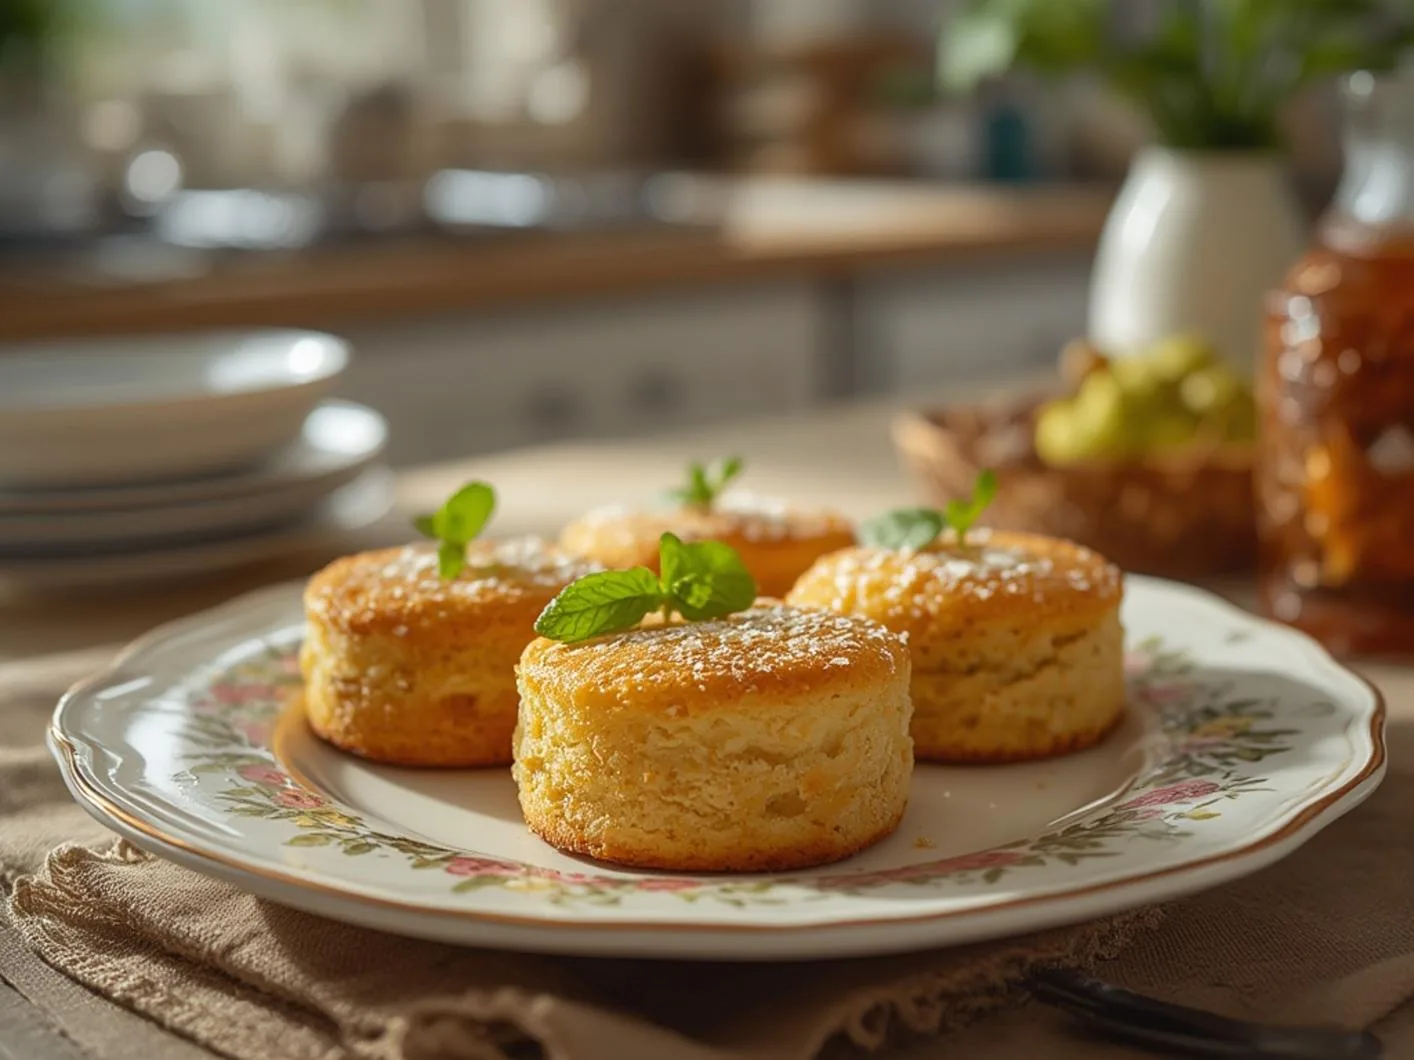
Beautiful Spring Cakes for Any Occasion is an easy, flavorful recipes ready in 35 minutes. It delivers a rich, comforting taste using simple pantry staples with minimal prep work. Serve warm alongside your favorite fresh sides or a crisp green salad for the perfect family meal.
Spring Cake Recipe: Light and Refreshing Dessert for Your Table
Have you been searching for the perfect dessert to brighten up your springtime gatherings? When the flowers start blooming and the weather warms up, there's nothing quite as delightful as baking spring cakes that capture the essence of the season. These light, vibrant treats are not only visually stunning but also incorporate the fresh flavors that make seasonal spring desserts so special. Creating these delectable confections at home allows you to customize flavors while impressing friends and family with your baking skills—all while filling your home with irresistible aromas.
Table of Contents
Ingredients & Kitchen Tools
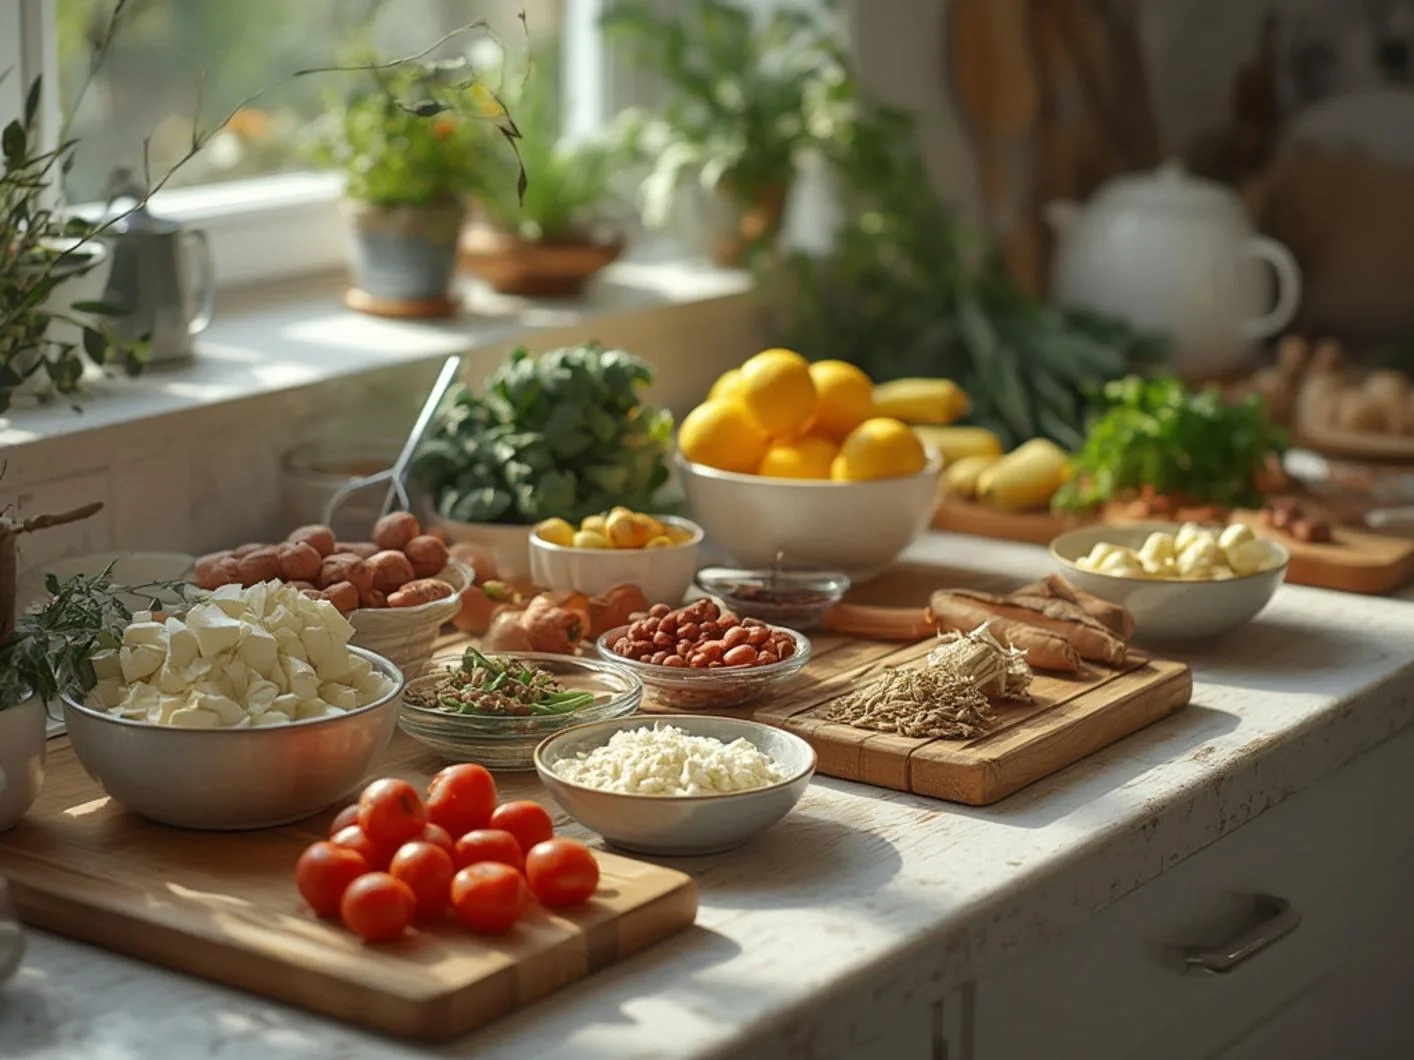
For the Cake:
- 2 cups all-purpose flour
- 1½ cups granulated sugar
- 1 teaspoon baking powder
- ½ teaspoon baking soda
- ¼ teaspoon salt
- 3 large eggs, room temperature
- ¾ cup unsalted butter, softened
- ⅔ cup buttermilk
- 2 teaspoons vanilla extract
- 1 tablespoon lemon zest
For the Frosting:
- 8 oz cream cheese, softened
- ½ cup unsalted butter, softened
- 4 cups powdered sugar, sifted
- 1 teaspoon vanilla extract
- 1-2 tablespoons milk or heavy cream
For Decoration:
- Fresh berries (strawberries, blueberries, raspberries)
- Edible flowers (violets, pansies, or rose petals)
- Fresh mint leaves
Kitchen Tools:
- 8-inch round cake pans (2)
- Parchment paper
- Electric mixer (stand or handheld)
- Mixing bowls
- Measuring cups and spoons
- Cooling rack
- Offset spatula
- Zester or microplane
- Cake turntable (optional)
Timing / Prep Time & Cooking Time
- Prep Time: 30 minutes
- Cooking Time: 25-30 minutes
- Cooling Time: 1 hour
- Decorating Time: 30 minutes
- Total Time: About 2.5 hours
- Servings: 10-12 slices
This recipe is perfect for weekend baking—you'll have plenty of time to prepare and decorate before your springtime gathering!
Step-by-Step Cooking Instructions
1. Prepare the pans: Preheat your oven to 350°F (175°C). Grease two 8-inch round cake pans and line the bottoms with parchment paper.
2. Mix dry ingredients: In a medium bowl, whisk together flour, baking powder, baking soda, and salt.
3. Cream butter and sugar: In a large bowl, beat the butter and sugar with an electric mixer until light and fluffy, about 3-4 minutes.
4. Add eggs and flavoring: Beat in eggs one at a time. Add vanilla extract and lemon zest, mixing well.
5. Combine wet and dry ingredients: Gradually add the dry ingredients to the butter mixture, alternating with buttermilk. Begin and end with the dry ingredients, mixing on low speed just until combined.
6. Bake the cakes: Divide the batter evenly between the prepared pans. Bake for 25-30 minutes or until a toothpick inserted in the center comes out clean.
7. Cool completely: Allow cakes to cool in pans for 10 minutes, then remove and cool completely on wire racks.
8. Make the frosting: Beat cream cheese and butter until smooth and creamy. Gradually add powdered sugar and vanilla extract. Add milk as needed to achieve desired consistency.
9. Assemble the cake: Place one layer on a serving plate. Spread a layer of frosting on top, then add the second layer. Cover the entire cake with frosting.
10. Decorate: Arrange fresh berries and edible flowers on top of your spring cakes for a beautiful presentation that perfectly showcases the essence of seasonal spring desserts.
Serving & Presentation
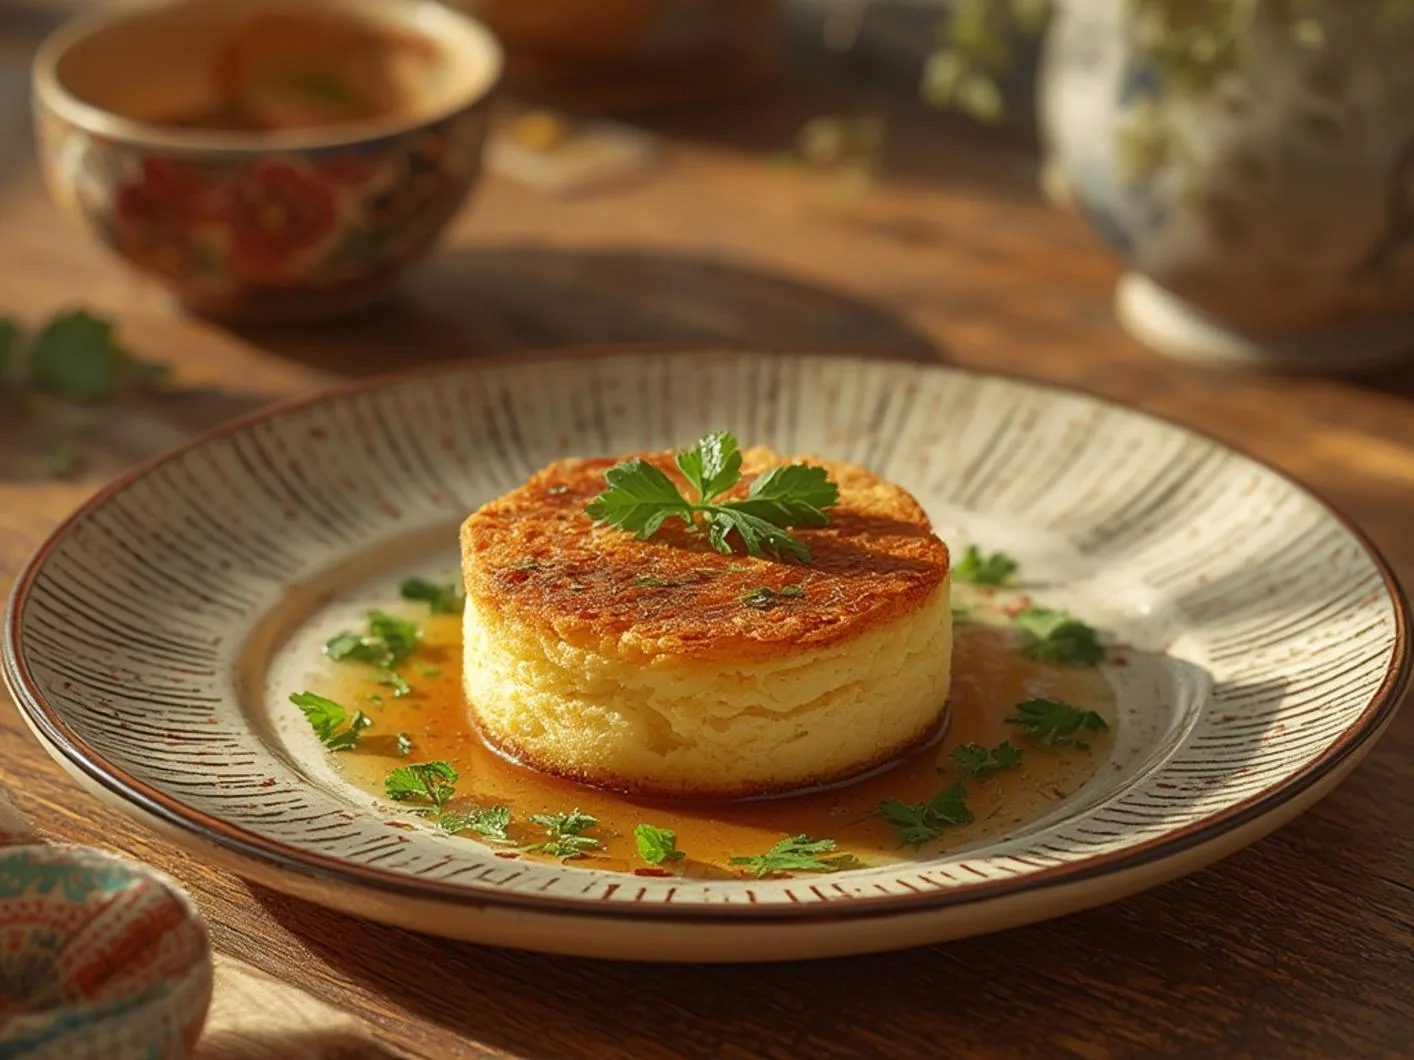
Present your spring cake on a decorative cake stand or platter for maximum impact. For individual servings, cut clean slices using a knife dipped in hot water and wiped clean between cuts. Place each slice on a dessert plate with a fresh berry garnish and a small sprig of mint.
For an elegant touch, dust the edges of the plate with a small amount of powdered sugar. Serve with a dollop of whipped cream on the side or a small scoop of vanilla ice cream for added indulgence. This cake pairs beautifully with afternoon tea, coffee, or a glass of champagne for celebratory occasions.
Nutritional Information & Benefits
Per slice (approximate values):
- Calories: 420
- Protein: 4g
- Carbohydrates: 62g
- Fat: 18g
- Fiber: 1g
This cake can be adapted for various dietary needs. Use gluten-free flour blend for a gluten-free version, or try reducing sugar by 25% for a less sweet option. The fresh fruit topping adds natural vitamins and antioxidants, making this a better choice than heavily processed desserts.
Tips, Variations & Substitutions
- Flavor variations: Add 1/4 cup poppy seeds for a lemon-poppy seed version, or incorporate 1 cup of fresh berries into the batter.
- Dietary adaptations: Use plant-based butter and cream cheese alternatives for a dairy-free version.
- Alternative frosting: Try a light whipped cream frosting or a simple lemon glaze for a less sweet option.
- Miniature version: Make cupcakes instead of a layer cake (bake for 18-20 minutes).
- Color variations: Add natural food coloring to the frosting for pastel hues that complement the spring theme.
Common Mistakes to Avoid
1. Overmixing the batter: This can lead to a dense, tough cake. Mix just until ingredients are combined.
2. Using cold ingredients: Room temperature eggs, butter, and dairy products blend more smoothly and create a better texture.
3. Opening the oven door too early: This can cause your cake to sink in the center.
4. Frosting a warm cake: Always allow the cake to cool completely to prevent the frosting from melting.
5. Overcrowding decorations: Let the natural beauty of a few strategically placed berries and flowers shine.
Storage & Reheating Tips
Store unfrosted cake layers, tightly wrapped in plastic, at room temperature for up to 2 days. Once frosted, refrigerate the cake for up to 5 days, covered with a cake dome or loosely with plastic wrap.
For longer storage, freeze unfrosted cake layers for up to 2 months. Thaw overnight in the refrigerator before frosting and decorating.
Bring refrigerated cake to room temperature 1-2 hours before serving for the best flavor and texture.
Conclusion
Creating beautiful spring cakes at home is a rewarding way to celebrate the season's vibrant flavors and colors. The light, fresh taste of this cake makes it the perfect finale to any springtime meal or celebration. Don't be intimidated by the decorating process—even simple arrangements of berries and flowers create stunning seasonal spring desserts that will impress your guests. We'd love to hear how your cake turns out—share your baking successes in the comments below!
FAQs
Can I make this cake ahead of time for a party?
How can I ensure my cake layers bake evenly?
What if I don't have buttermilk?
Can I use frozen berries for decoration?
How do I prevent my cream cheese frosting from being too runny?
Beautiful Spring Cakes for Any Occasion
Ingredients
Instructions
-
1
Prep & Preheat
Preheat oven to 350°F (175°C) and prepare your baking dish with non-stick spray or parchment paper.
-
2
Mix Wet Ingredients
In a large mixing bowl, beat butter and sugar together until light and fluffy. Add eggs one at a time.
-
3
Combine Dry
Whisk dry ingredients together in a separate bowl, then gently fold into wet mixture until just incorporated.
-
4
Bake to Golden
Transfer to prepared dish and bake for 35–40 minutes until golden brown and a toothpick inserted comes out clean.
-
5
Cool & Serve
Allow to cool on a wire rack for 15 minutes before slicing. Serve warm with your favorite garnish.
Frequently Asked Questions
Can I make this Beautiful Spring Cakes for Any Occasion ahead of time?
Yes! You can prepare this dish up to 24 hours in advance. Store tightly wrapped in the refrigerator and reheat gently before serving for maximum flavor.
How should leftovers be stored?
Keep leftovers in an airtight glass container in the refrigerator for up to 4 days, or freeze in individual portions for up to 2 months.
What are the best ingredient substitutions?
You can substitute dairy-free plant butter 1:1, or use a certified 1:1 gluten-free baking flour blend without sacrificing texture or rise.